

Hetzer
 1March 28, 2013I love the excitement of starting a new project! Never know how it will come out....
 2March 28, 2013Resin wheels (top) compared to kit's (bottom). The kit wheels have the wrong number of bolts, and no detail on the back.
 3March 29, 2013Ejector pin marks on the TOP of the fenders 🙁
 4March 29, 2013These ejector pin marks are shallow, but numerous. I usually fill these with cyanoacrylate glue, so that the glue is even-with or higher than the hole. After it dries good and tight, I shave it down level with a scalpel blade.
 5March 29, 2013After shaving the pin marks, I'll sand them a little as needed. Here you can see "before" filling the pin marks (top) and "after" (bottom).
 6March 29, 2013Here's something I have not seen before. A spare antenna holder. My references show 4 posts; 2 solid and 2 hollow. So...
 7March 29, 2013Replaced the solid posts with wire to make it easier to add spare antennas later (they will slip over the wire).
 8March 29, 2013Added hinges and wing-nuts to the jack brackets.
 9March 29, 2013Added a clip to help hold down the wire cutters (just a thin scrap of metal from an old photo-etch tree)
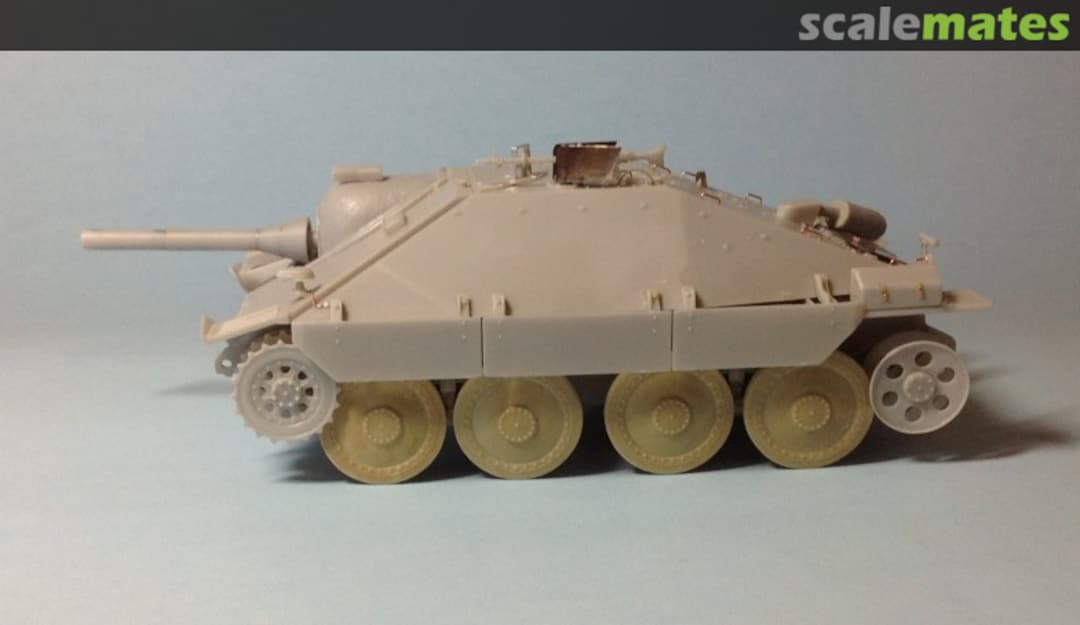
 10March 29, 2013Just test fitting the wheels and upper hull
 11March 30, 2013The kit comes with a nice little fret of photo-etch.
 12March 30, 2013Added guides to the gunner's periscope slider.
 13April 2, 2013Muffler and grill detail; added a rough texture to the muffler and a wing-nut to the sliding grill cover
 14April 2, 2013The metal machine gun shields needed some bolts added
 15April 2, 2013Notek light with wire and fuse added
 16April 2, 2013Decided to do the Flammpanzer version
 17April 2, 2013Notice the flame thrower inside the false barrel
 18April 2, 2013Time to start painting
 19April 3, 2013Added a scratch built periscope above the gun mantlet. The kit does not supply one.
 20April 3, 2013I discovered that the rear of the flame suppressor on the muffler should be open (it was solid on the kit part). I removed the piece, hollowed out the back end, extended the muffler to the right length, and scratch built a bracket out of plastic sheet.
 21April 3, 2013Using Model Master Acryl "Medium Green" as a base coat/primer
 22April 5, 2013Base colors applied.
 23April 5, 2013The green was airbrushed, the others are hand brushed.
 24April 7, 2013Gloss coated and decals added
 25April 8, 2013Drilling out a few track links to install track pins on the lead link of each set of spares
 26April 8, 2013Spare track links ready to be painted and installed
 27April 10, 2013Dry-brushed and ready for weathering and tracks.
 28April 12, 2013A little blast from a hair dryer softens the glued tracked. They bend like putty, and can be shaped to sag perfectly.
 29April 12, 2013Finished!


Commentaires
28 March 2013, 20:54
A nice one!
My favorite:
the wing-nuts ... they're small
... you must be a really patient man George!
7 April 2013, 01:45

