

P-40N Academy 1:72 Moxing Basic Model Class


Commentaires
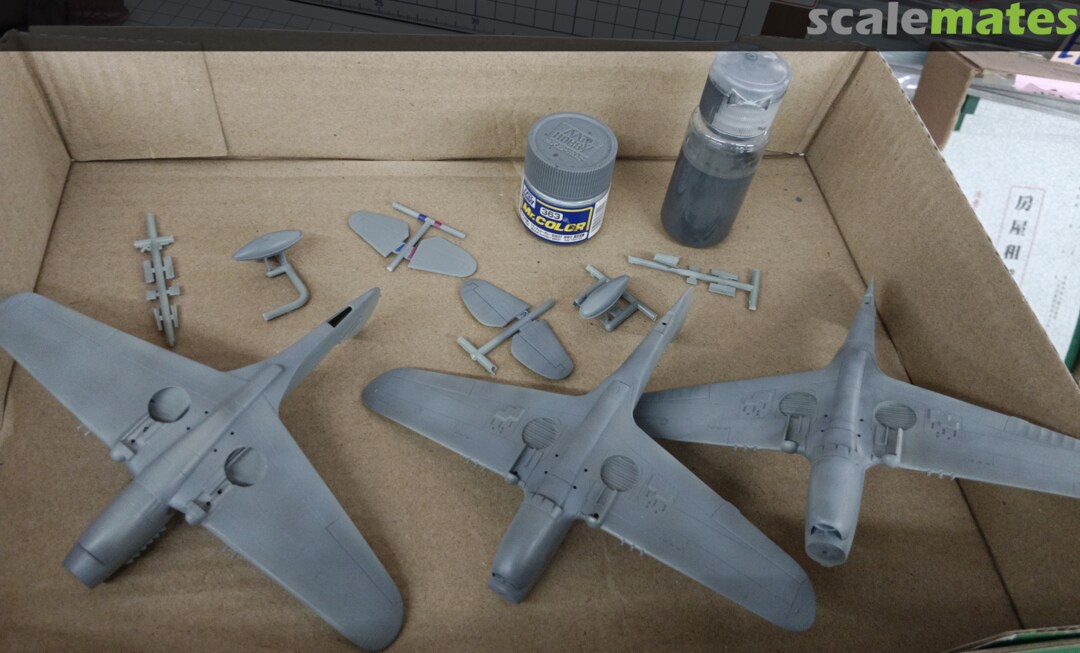
40 26 June 2025, 14:44
Propeller modifying is make it separable and easy to transport. I added an extra plastic block in fuselage to support the propeller axle. Separable propeller prevents blades proken.
17 July 2025, 03:56


