

B-Wing Bandai 1:72
 1January 10, 2021This is more or less what I used on the cockpit - which offers tons of detail! The only things missing are Future (for a gloss "in between" finish) and the Model Color that I used for the pilot's seat. Mr Mark Softer was used to tame the two decals that went on some raised structure.
 2January 10, 2021The pilot is still work in progress. I'm not much of a figure painter as you can see. His suit is still glossy and sticky because I used some very old Revell enamel colour - which I probably didn't stir well enough.
 3January 16, 2021I tried using Revell Color Stop to simulate some paint chipping. First the parts where airbrushed with Vallejo Model Air Gray Base. When this was dry I applied some small spots of Color Stop here and there, using a sponge. After that the light grey color (50% Light Gull Grey + 50% White as per Bandai's instructions) followed and the Color Stop was rubbed off.
 4January 23, 2021B-Wing in a box: By now all parts have been separated from the sprues and are in different stages of being painted and weathered.
 5January 23, 2021There are many sub-assemblies that you can work on individually. Something I'm not used to (at least to this extent) when building my "regular" plane model.
 6January 23, 2021Different metal colours have been used for the engine nozzles and guns. Some weathering still needs to be applied.
 7January 24, 2021As suggested I applied a wash to the figure and highlightes some parts of the cockpit. The cockpit and the engine unit are now finished.
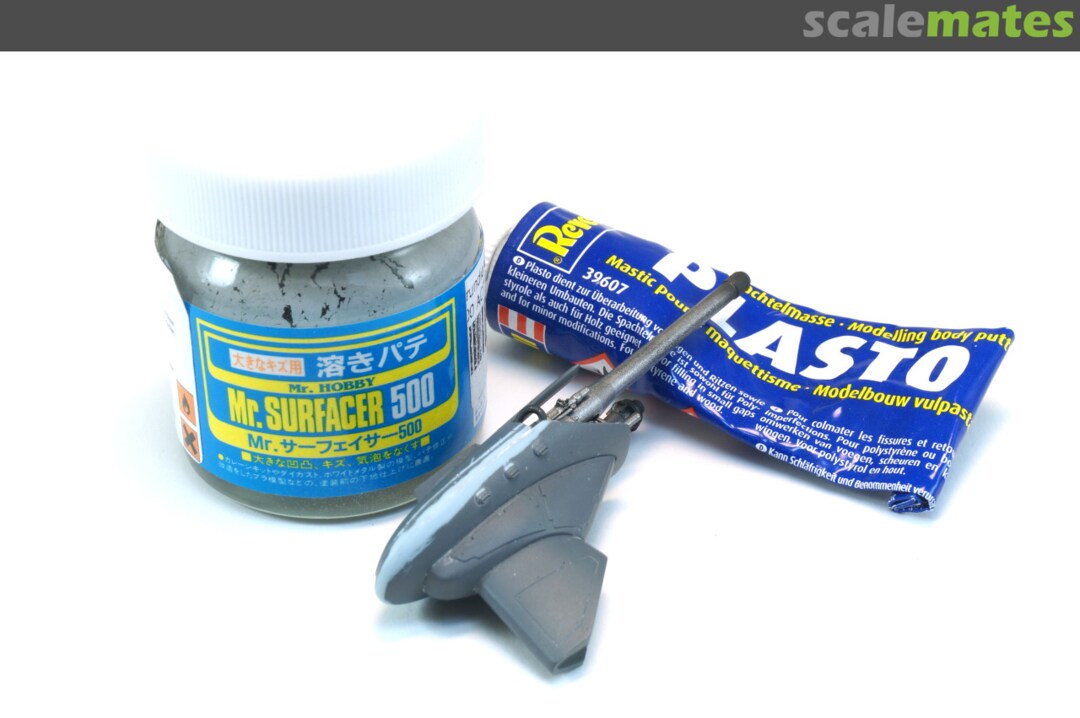
 8January 30, 2021The gun pod needed a bit of filling. First I thought I could assemble the pod without the gun, but that proved to difficult as the gun part is designed to snap-fit into the pod.
 9January 30, 2021Therefore I needed to mask the gun before I could paint the sanding seams.
 10January 30, 2021The decals worked nice. The only difficult part was this threepart insignia decal (the insignia covers some raised structure on the wing). I recommend to start with the middle part of the insignia and then add the left and right parts to it. Some decal softener is vital for this task!
 11January 31, 2021Oil and enamel washes were applied - the parts look far more interesting now!
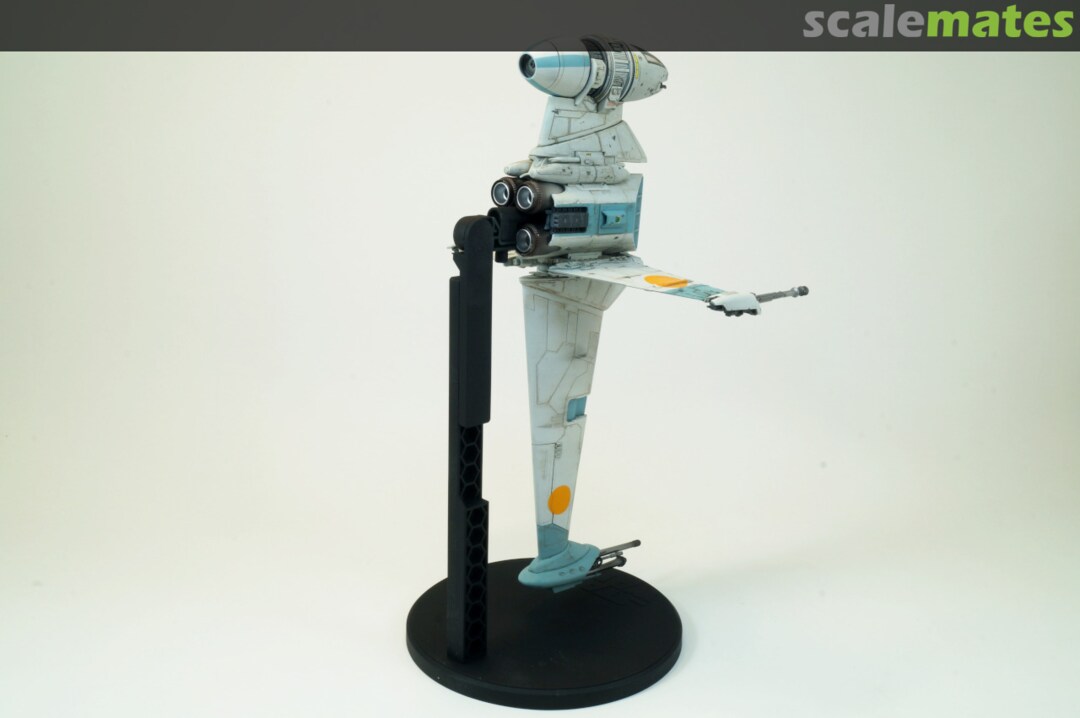
 12January 31, 2021After some more weathering with pigments the main sub-assemblies were put togehther. The parts needed to be modified at their joinings a bit so I could glue everything together at this later stage. Out of the box the big vertical wing would need to be attached to the fuselage a lot earlier.
 13January 31, 2021It makes a lot of sense that the kit comes with a display stand - which I still need to put together.
 14January 31, 2021
 15January 31, 2021
 16February 5, 2021
 17February 5, 2021
 18February 5, 2021
 19February 5, 2021
 20February 5, 2021
 21February 5, 2021
 22February 5, 2021


Comments
22 July 2026, 07:55 -
Album info
I'm building this Star Wars B-Wing as a somewhat late Xmas present for my brother.

