

Dutch Typhoon


Comments
3 10 January 2015, 22:37
Hell yeah, thats something i ,like to watch! Great start and i agree with Lionel, happy modeling
7 February 2015, 13:20
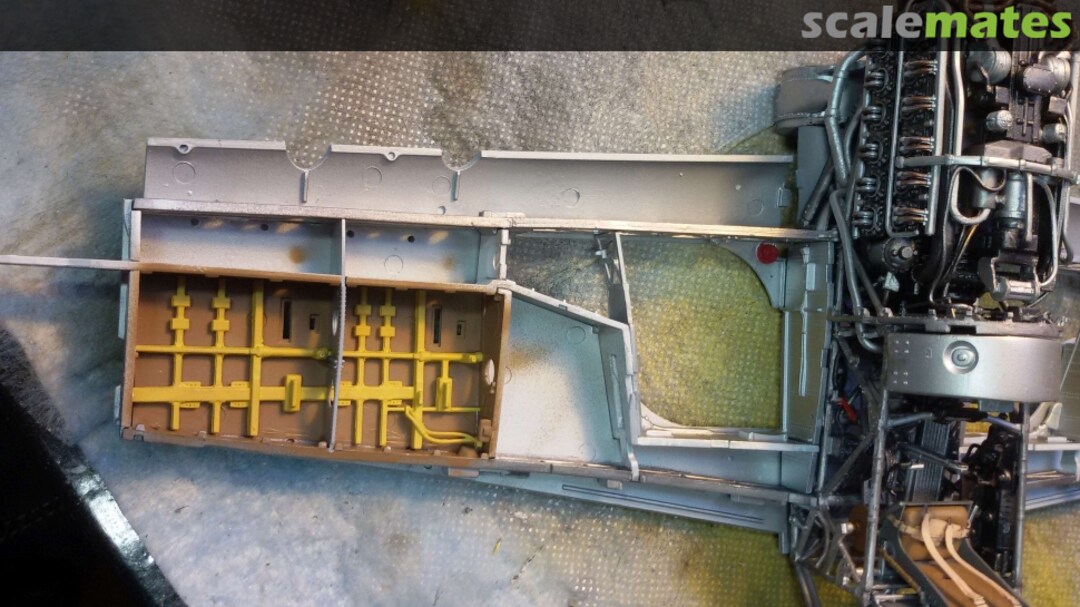
Thanks! It is an amazing kit. I built the 1/24 Mosquito some years ago, but the Typhoon stands lonely at the top. I'm now working on the engine. You have a lot of tiny parts and tubes and when you put them in place, the fit lovely. Whereas the Mosquito needed a lot of scratchbuilding, the Typhoon can almost be built straight from the box. I wish Airfix would redo the Mosquito with the modern techniques they have!
17 February 2015, 07:39
I showed it to my wife and told her that I think it a pity that you have to choose between either hiding it all behind panels or show it but missing the nice lines of the Typhoon. She came up with a solution: why don't you buy one which you finish with all panels closed! So off to the shop tomorrow 🙂
15 March 2015, 20:15
The engine is immense !! what a kit !!
too late to make the cockpit surround removable as a separate piece so it can be removed for viewing ?
14 June 2015, 21:16
I already removed some parts, but I want to build a real model. Some people remove lots of panels, including the wing structure, but my aircraft should look as if it is in service.
15 June 2015, 05:16
I meant removable as in you can take it off and put it back on as you want to on a whim,
so you can see the detail properly when you want to and once you put the lid back on it looks back to normal 🙂
15 June 2015, 05:22
No Choppa: it was difficult enough to ge everything in place with glue. This kit is so close to the original, that everything fits, but there is no room for deviations! They even added gun heating pipe, but found out that there would not be place enough in the model, so they removed them from the instructions
15 June 2015, 10:51


